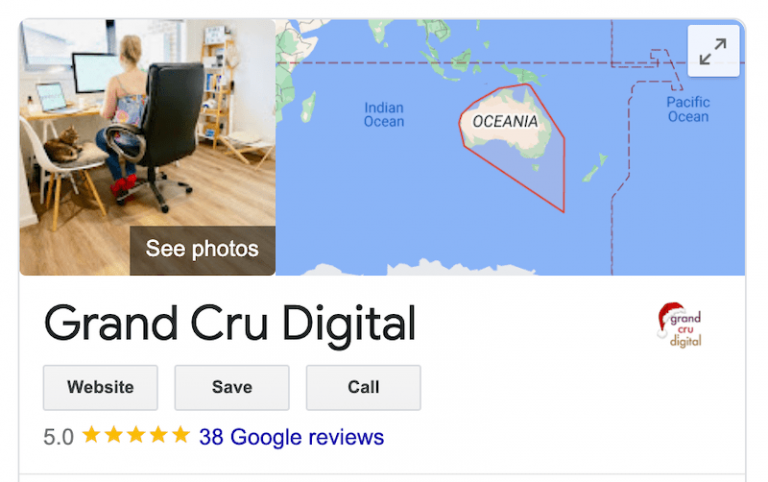
Okay so you know you can add posts to your Google Business Profile listing and you know it’s important to add these regularly as part of your SEO strategy, but how can you streamline this task? Well my friends, it’s time to learn how to schedule your Google Business posts in advance..
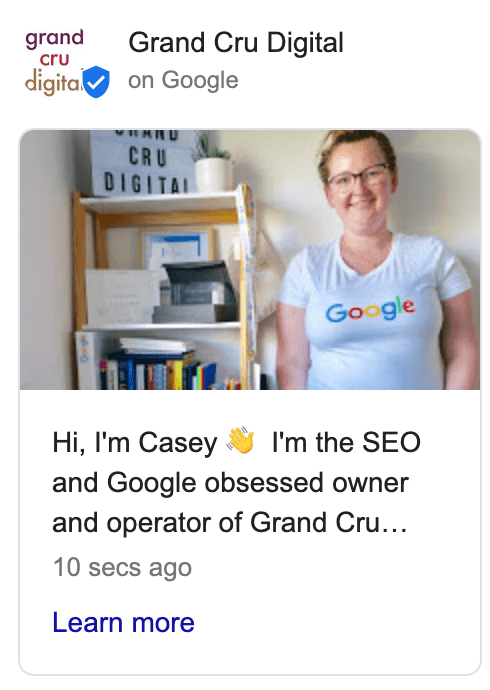
But before we go any further. Please please please tell me you have a Google Business Profile (GBP) listing set up for your business? If not, stop right here and follow these steps on how to set up your free Google listing now.
Currently Google does not offer the option to schedule Google Business posts in advance, unfortunately. However there are a number of 3rd party tools you can use to do this. For instance:
- Semrush (affiliate link)
- OneUp App (affiliate link)
- SkedSocial
- Sprout Social
- Publer
- Planable
- SocialBee
- Loomly
- Metricool
- SocialPilot
- RecurPost
- SocialPilot
- Sendible
- Promo Republic
- Hootsuite
Most of these tools helps you to:
- Schedule posts ahead of time
- Schedule multiple posts at once
- Set up recurring posts
We have used both the GBP post schedulers in SEMRush and OneUp. Both are paid tools, however I 100% get my worth from them as I am managing many of my clients Google Business listings. Plus I also use them to schedule some of my own social media posts. I am really happy with both tools.
SEMRush is great if you want a full suite of SEO tools (read more about the SEMRush SEO tool here) and OneUp is more suited if you just want a social media and GBP scheduling tool.
Here is the process of scheduling a Google Business post with OneUp:
Another pro of using OneUp to help manage your GBP is that they add a new feature in February 2023 where they will suggest a reply to Google Reviews for you. Another fantastic time saver – especially if your business accumulates a lot of reviews!
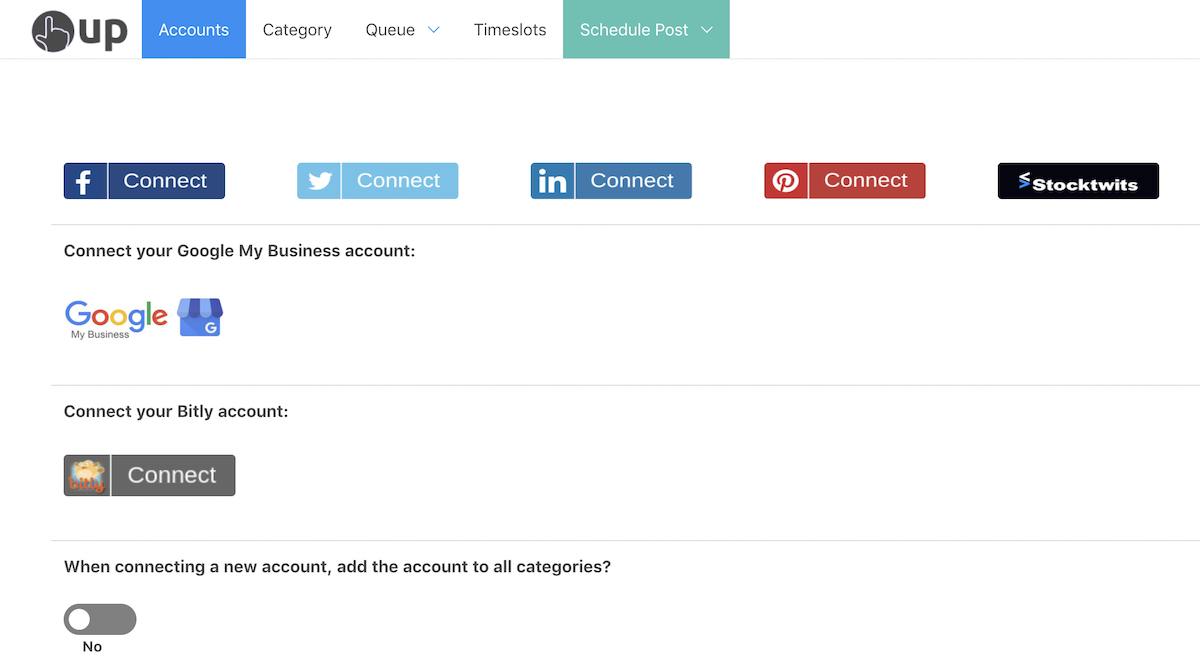
1. Connect your Google Business account
When you login to your account, you will firstly want to connect your Google Business account. Simply follow the prompts to do this.
2. Create a category
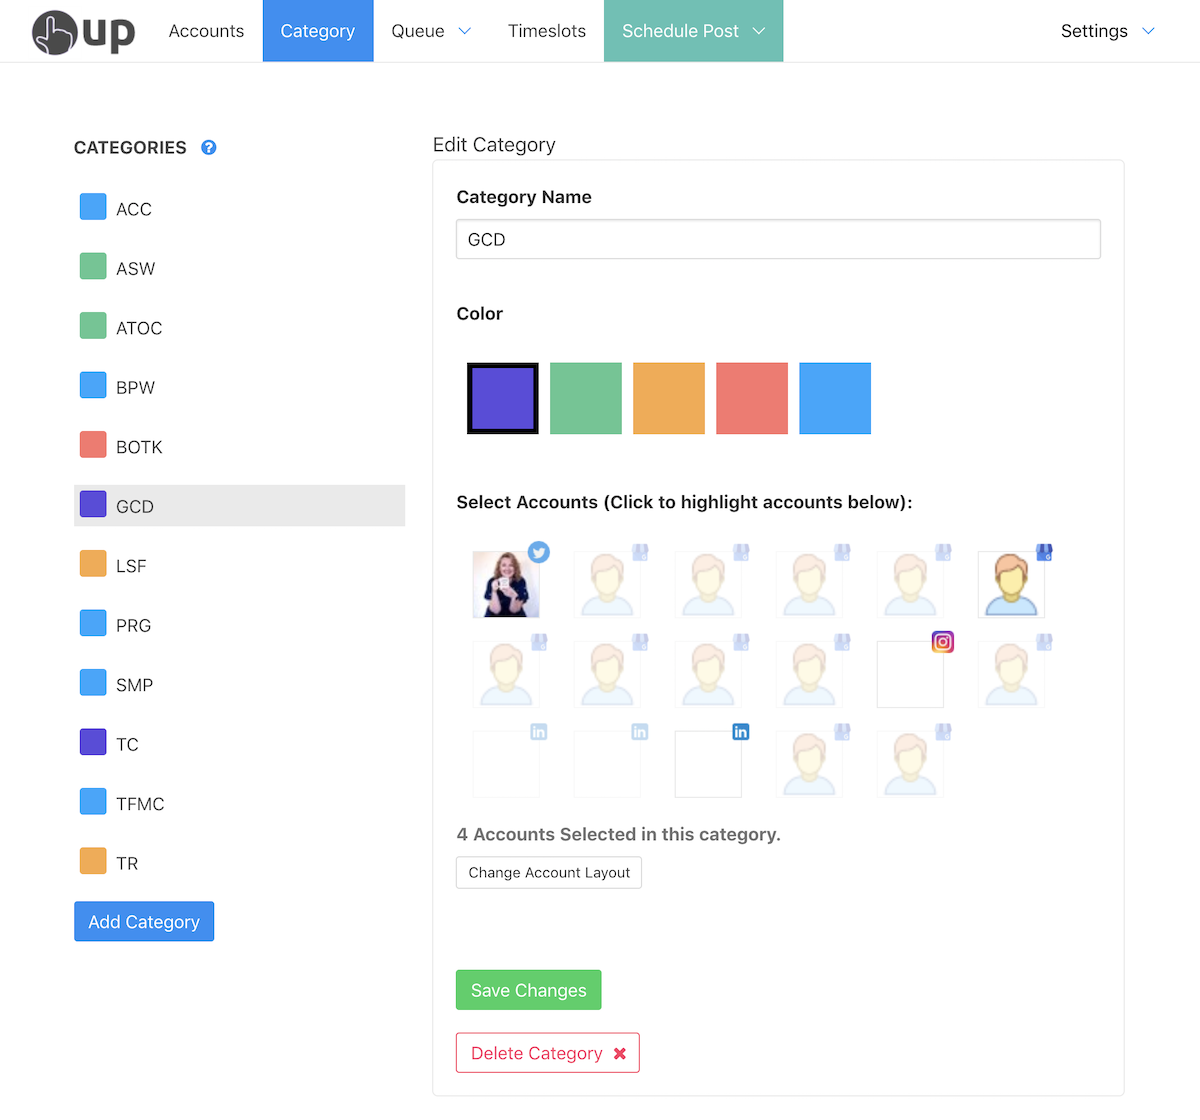
I find it’s easiest to keep my account organised with categories, seeing as I manage a number of different businesses. To do this, simply go to the Category tab and add a new category.
3. Create your Google Business post
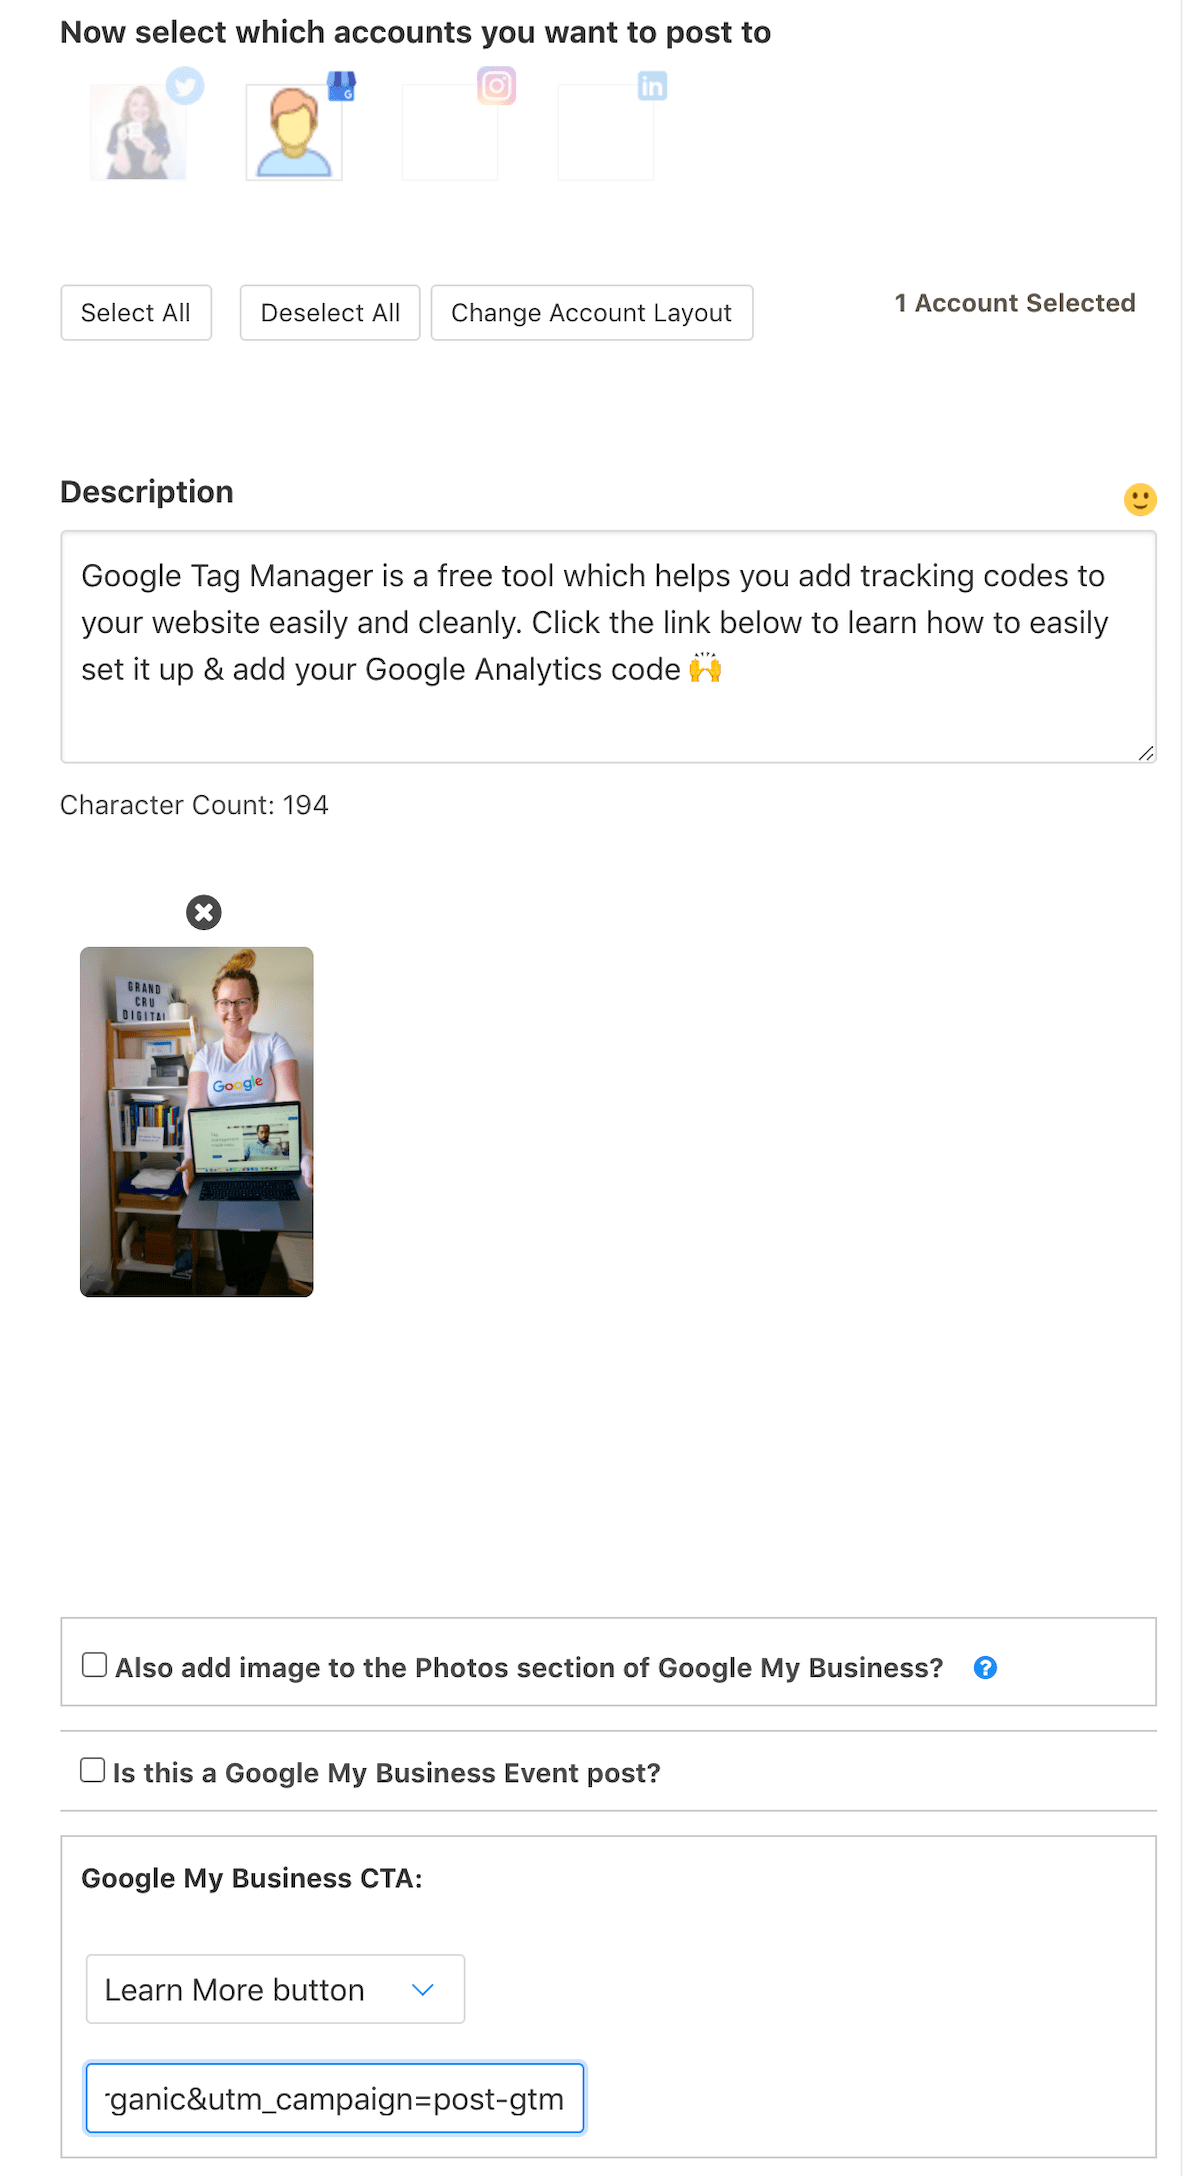
Now you’re ready to schedule in your post! Simply go to the Schedule Post tab where you’ll pick your Category and then account.
Next up, add your post description (don’t forget you can add emojis and symbols to really make it pop!), add image (you can even choose to design it through Canva) and add your CTA button and link (don’t forget to add a tracking link).
You can also opt to create an Event post alongside adding your image to your GBP gallery.
4. Schedule your Google Business post
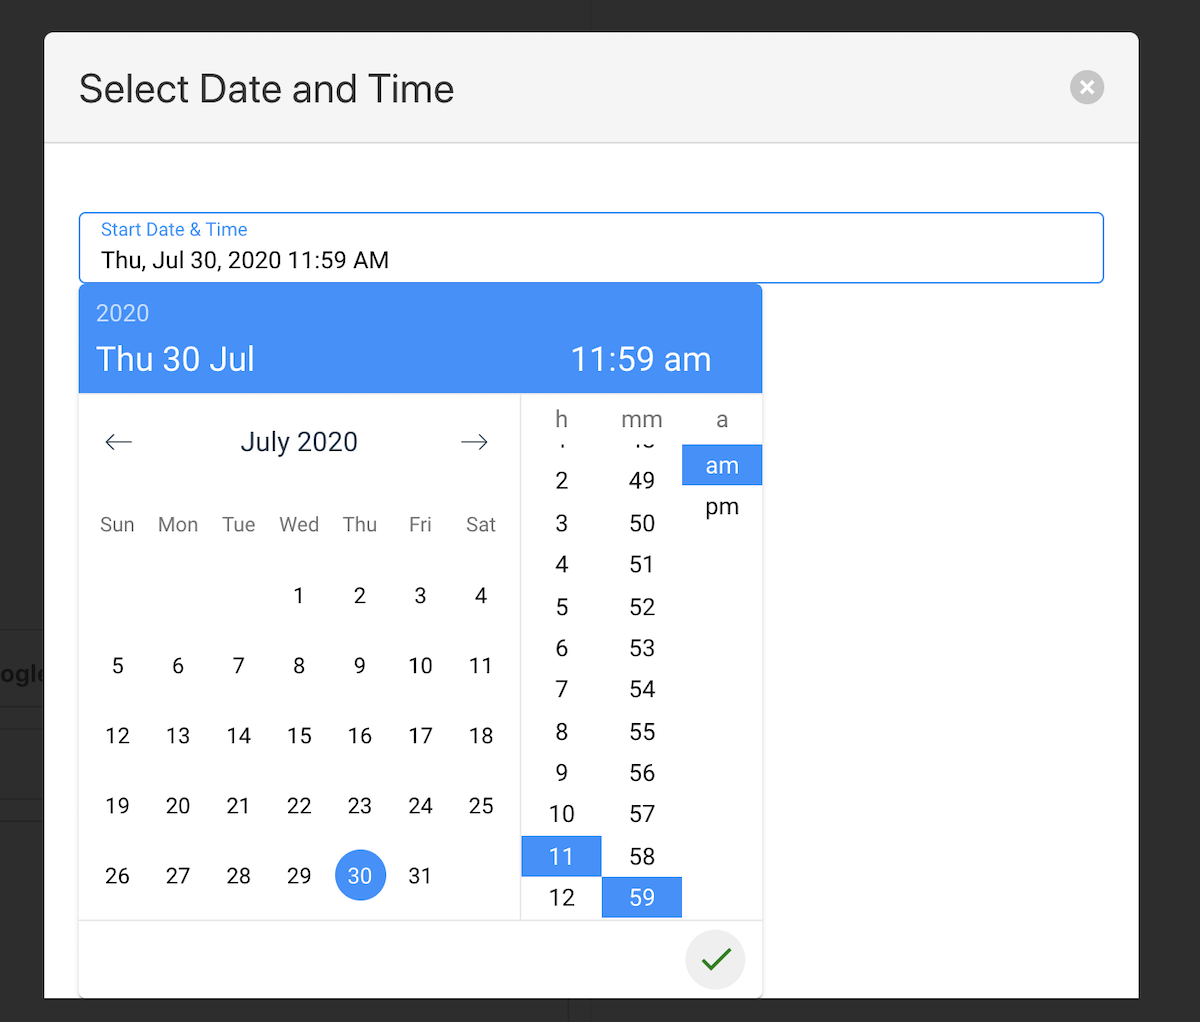
And last but not least, you can add the date and time you want your Google Business post to be published. Plus you can also set your posts to repeat at intervals you select as well.
And there you have it! That’s how I easily pre-plan and schedule Google Business posts, so that my listing and my clients listings always have a fresh post up.
If you have any further questions, or would like help with your Google Business listing, please don’t hesitate to contact us today.


